


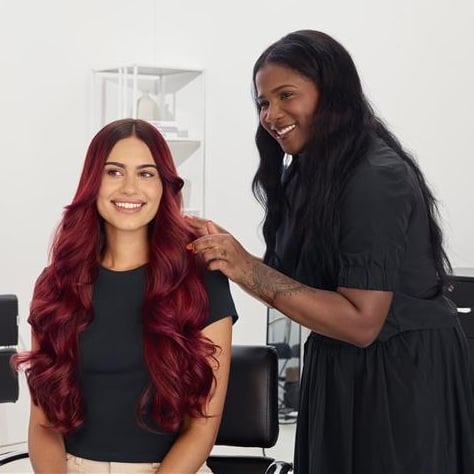
What Is a Blowout?
If you’re not super familiar with a blowout, let us break it down for you. Put simply, it’s a bouncy, smooth style achieved with a blow-dryer and round brush. Whether your goal is a traditional Brazilian blowout or a retro style, using a blow dryer can help you create a style that lasts for days. With the right technique and products, a blowout can tame and style your strands at the same time—no need for extra hot tools or steps.
How to Give Yourself a Salon Blowout at Home
GET INSPIRED


The Signature Blowout Set
Quick Blowout, Root Lifter Volumizing Spray Foam & Brushable Hairspray.


THE SMOOTH & FRIZZ-FREE BLOWOUT SET
One United, Spray Smooth, Control Hairspray
1. Prep Your Hair
The foundation of a great blowout starts in the shower. To properly prep your hair for long-lasting results, it’s important to shampoo and condition your hair with products designed for your hair type—whether it’s dry, fine, curly, thick, or color-treated. For a deep cleanse, shampoo your strands twice and only apply conditioner from mid-lengths to ends. The goal is to leave your hair clean, nourished and primed for styling. If you are not sure which hair care products are right for your hair, you can take our hair quiz.
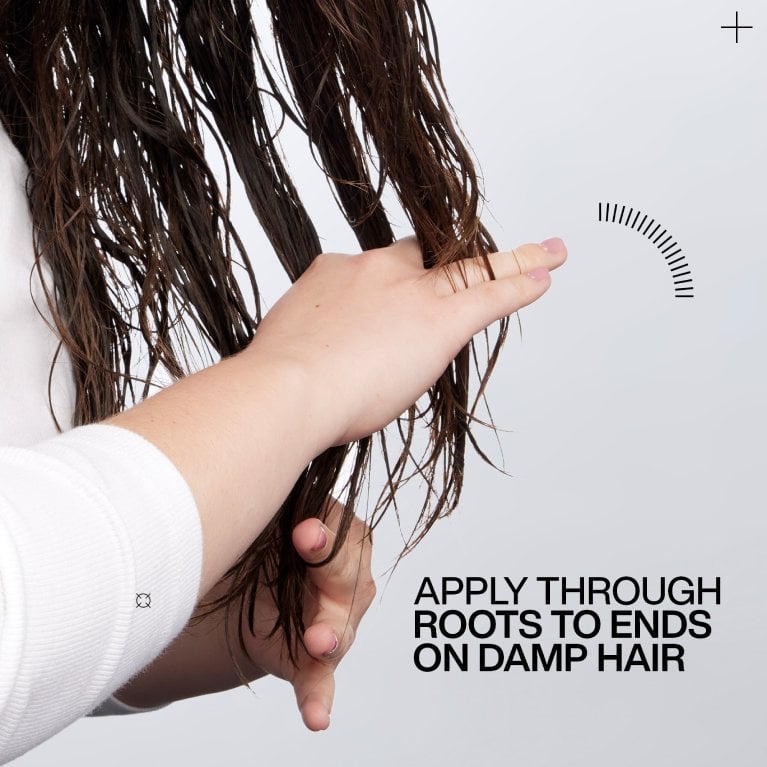
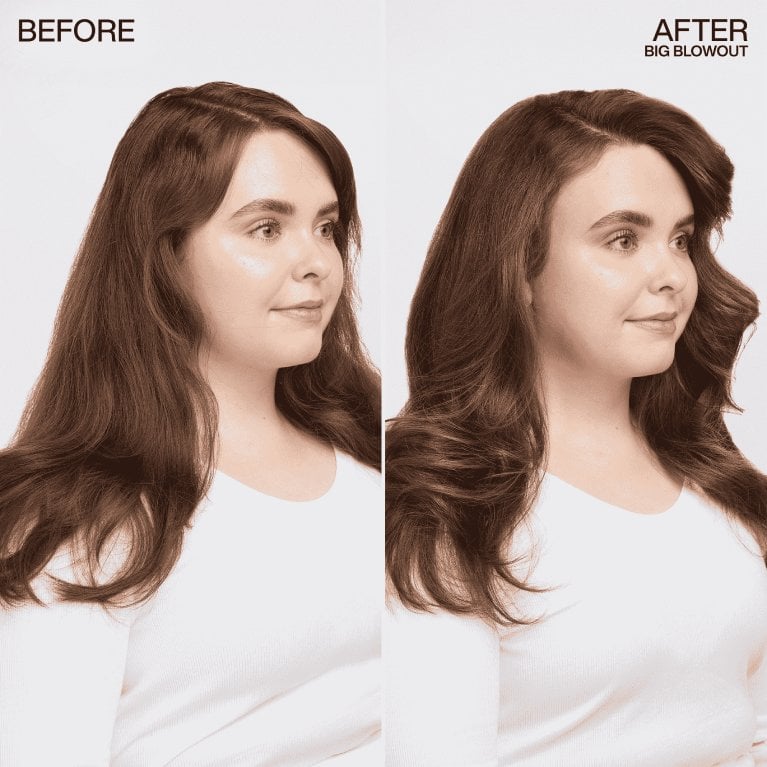
2. Use a Heat Protectant
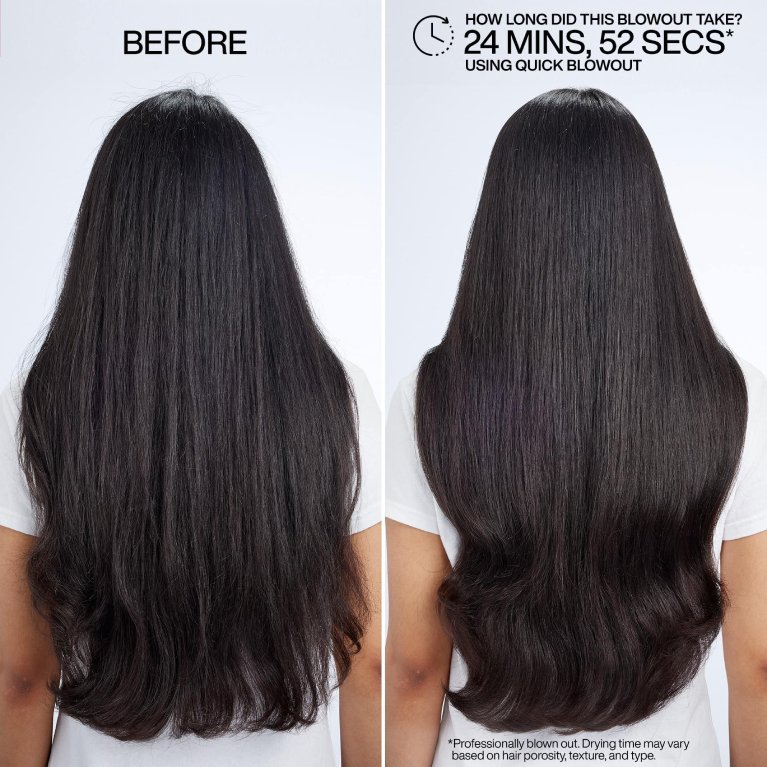
After showering, remove excess water from your hair before applying any heat to it. We like microfiber towels for reducing frizz and breakage while soaking up that extra water. Next, apply add a generous amount of a heat protectant. Redken’s Quick Blowout has a flash-drying formula that provides heat protection up to 450 F degrees while smoothing and adding shine to strands. Want added volume and heat protection? Try Redken’s volumizing Big Blowout.

3. Rough Dry Your Strands
Once your hair is prepped and ready, you can start rough drying until it’s about 60% dry. No need for your round brush just yet—you can use your fingers to comb and tousle as you dry.
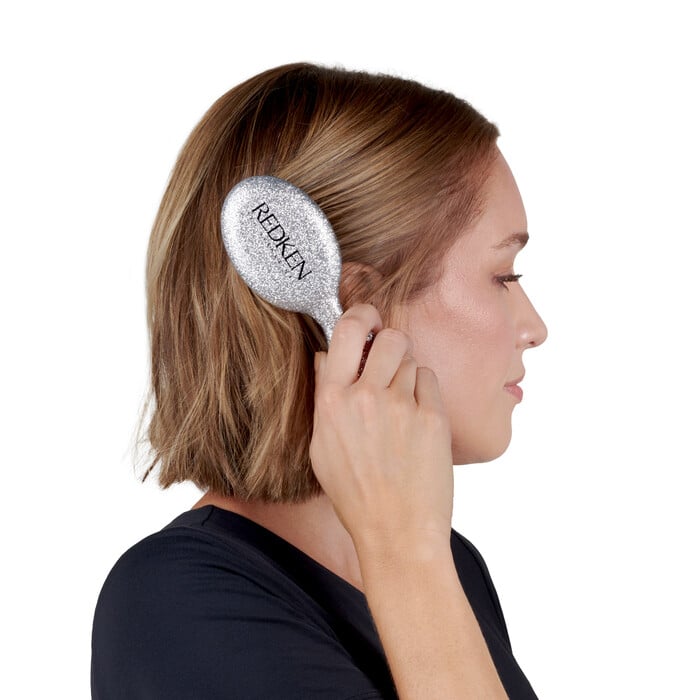
4. Use The Right Tools
Before you pick up any tools, make sure you have ones cut out for the job. Using the right tools plays a major role in the quality and staying power of your at-home blowout.
First and foremost, you’ll want to use a blow-dryer with a nozzle to concentrate the airflow and smooth your strands. Next, pick a round brush that works for your hair type—a boar bristle brush is a great option because it works to smooth the hairs’ cuticle while styling. The size of the brush you choose is also important—a smaller barrel will give you tighter, defined curls, while a larger barrel will give you more volume. If you want a sleek, straight blowout, you can use a paddle brush instead.

5. Section & Style
It’s time to start styling! Apply a volumizing mousse like Full Volume Mousse or Root Lifter Volumizing Spray or Stay High Mousse for lift, body and fullness. Split your hair into horizontal, manageable sections and begin drying. Place a small section underneath your round brush and begin turning the brush downward and away from your scalp. You may need to repeat this several types on each section until it’s fully dry. This may seem time-consuming (and a little daunting) at first, but taking your time on each section will ensure the best results.
6. Let it cool
This part might seem counterintuitive while using heat to style your hair, but letting it cool on the barrel is critical for a long-lasting blowout. Before you unwrap each section from the brush, let it cool for about 10 seconds.
7. Finishing
Once you’ve worked your way through each section, you can add a finishing product to protect your freshly styled strands. Redken’s Brushable Hairspray offers 24-hour humidity resistance to help you ward off frizz and hold on to your blowout. Use Control Hairspray or Max Hold Hairspray for extra strong hold.
We hope this guide helps you master your at-home blowdry craft, and if you ever need a hand, your Redken stylist is only a phone call away.
Shop all heat styling products from Redken.


ROOT LIFTER VOLUMIZING SPRAY
Medium Control Root Volumizing Spray Foam for Flexible Fullness


BIG BLOWOUT
Volumizing Heat Protecting Blowout Jelly


SPRAY SMOOTH
Instant Smoothing and De-Frizzing Spray for a Silky Finish
*Travel size excluded from promotions


THERMAL SPRAY HIGH HOLD
High Hold Thermal Heat Protection Hairspray


ONE UNITED
Leave-in Conditioner with 25 Benefits. Prime, Protect & Treat.


THERMAL SPRAY LOW HOLD
Lightweight Thermal Heat Protection Hairspray


.jpg?sw=270&sfrm=jpg&q=90)


.jpg?sw=270&sfrm=jpg&q=90)


